Creating and Running a CollectionSpace Report in Jaspersoft Studio
Introduction
In CollectionSpace releases prior to v5.2, not all reports can be run from the CollectionSpace UI. Those that are "system-wide," or for which you want to include specific parameters, must be run from the Jaspersoft Studio interface. There's a bit of a learning curve with Jasper, but the following materials will help get you up and over it! The steps are outlined in a screencast and described in this step-by-step guide.
A screencast of the process may be viewed via the CollectionSpace Vimeo page.
Prerequisites
- Set up CollectionSpace Data Adapter in Jaspersoft Studio. See Connecting Jaspersoft Studio to CollectionSpace for details.
- Build SQL query for the report's fields.
Step-by-Step
1. From the toolbar, select the "New Jasper Report" icon. 
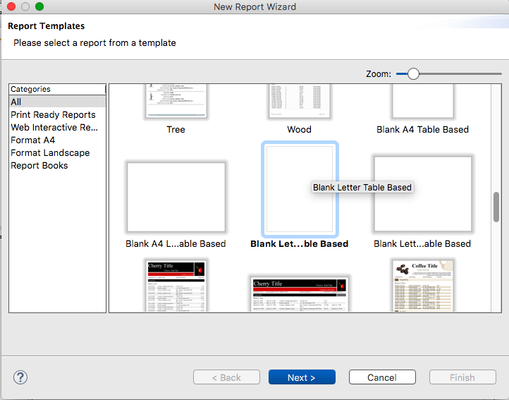
2. Select a report template, then "Next"
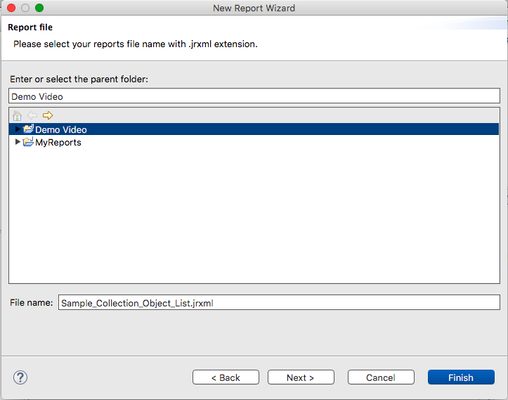
3. Select the parent folder with the CollectionSpace Data Adapter and give the report a file name, then "Next"
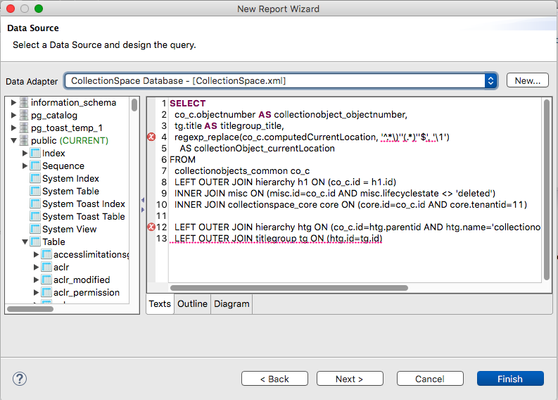
4. Select the "CollectionSpace Database" Data Adapter and input the SQL query into the box. In the left column, the CollectionSpace database tables are located under "Public > Table". When complete, click "Next"
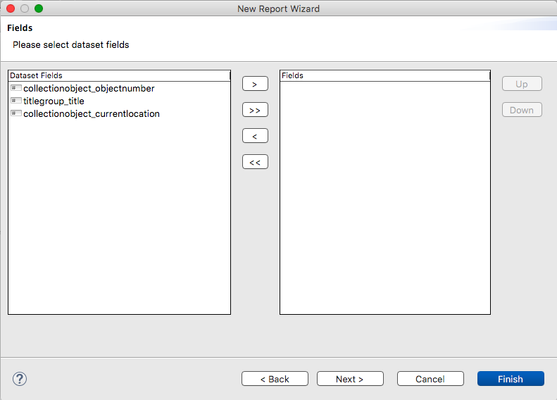
5. The system will perform the query and determine the fields returned. Select the fields to be included in the report and use the arrow button to move them from the left column to the right column, then "Next"
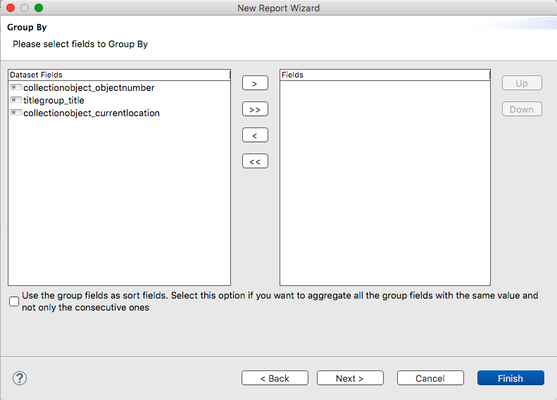
6. The last wizard panel offers the option to group results by a field
7. Fields can be re-arranged and re-labeled, and new elements can be added to the report design
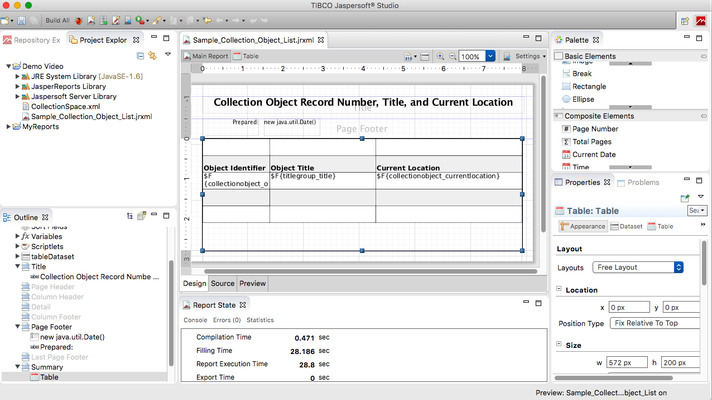
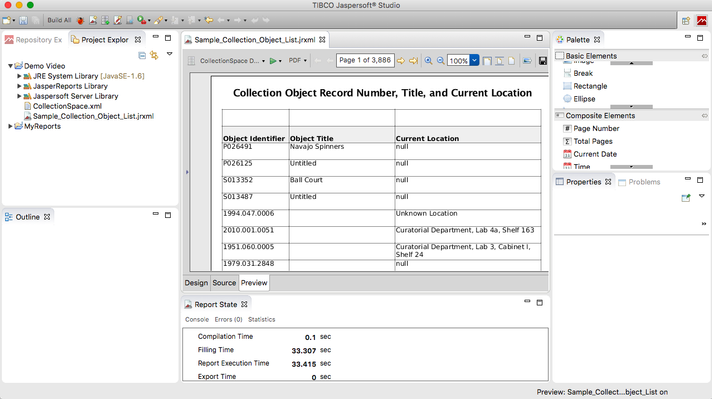
8. Use the "Preview" tab see what the report will look like. Use the format button next to the green play button to generated and save the report output.