/
User Manual: Data Entry Screens
User Manual: Data Entry Screens
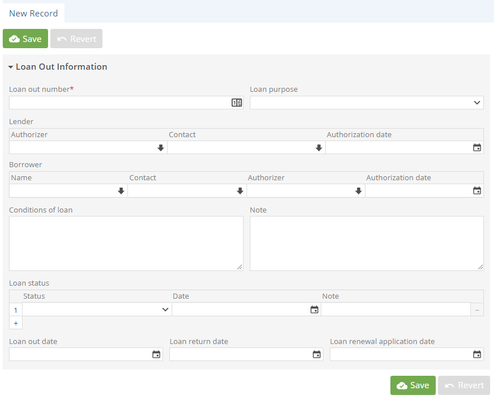
The edit screen contains the complete data entry form for a particular record type – in the examples below, a Loan Out record. Edit screens are accessible via mouse or keyboard, and contain a combination of plain alphanumeric fields and the special fields outlined in this section of the manual. All edit screens behave the same - Object/Cataloging, Procedures (Loans, Acquisitions), and Authorities (Persons, Places).
| |
You may Revert changes while editing a record, which will revert the record to its last saved version | |
| |
| |
, multiple selections available,
Related content
User Manual: Special Fields and Interfaces
User Manual: Special Fields and Interfaces
More like this
Try Before You Buy
Try Before You Buy
Read with this
User Manual - Edit Screen
User Manual - Edit Screen
More like this
User Manual: Login and Password Reset
User Manual: Login and Password Reset
Read with this
User Manual - Anatomy of a Record
User Manual - Anatomy of a Record
More like this
User Manual - Anatomy of a Record
User Manual - Anatomy of a Record
More like this


